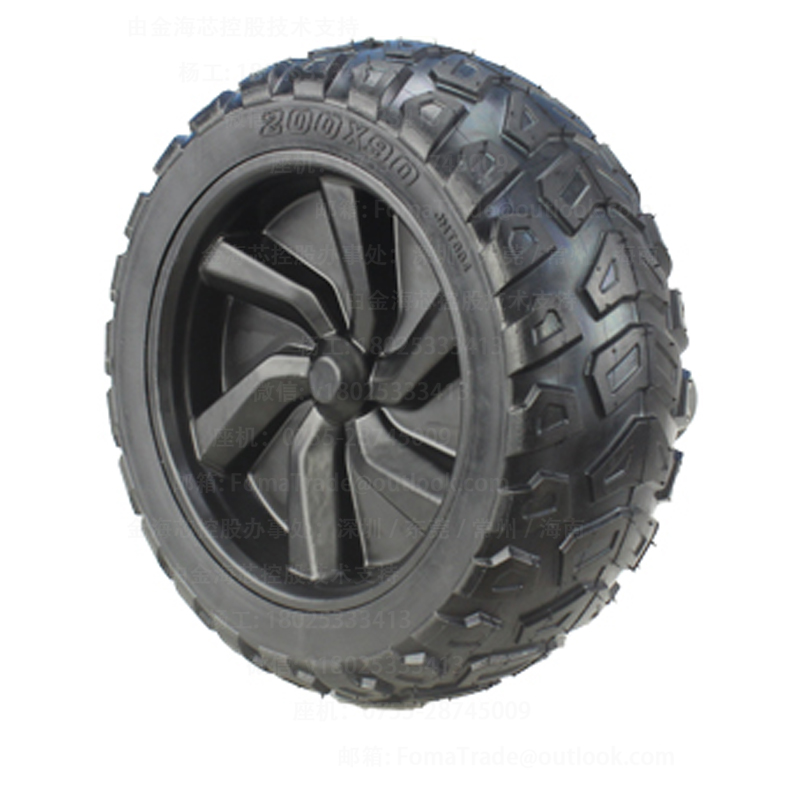
This technical guide explains how 8-inch (213mm) go-kart brake discs are specified and used in performance karting, with a focus on selecting race-appropriate specifications. It details the sizing logic behind pairing a 213mm disc with 83mm tire width, and clarifies how a single-sided clamp axle design can simplify installation while improving serviceability. The article also outlines practical setup steps, inspection intervals, and wear indicators to address common issues such as weak braking and frequent pad changes. Written for kart enthusiasts and technicians, it provides a structured, standards-oriented reference to support safer, more consistent braking and efficient maintenance planning.
8-Inch (213mm) Go-Kart Brake Disc Standards in Racing: How to Choose a Professional Spec That Actually Fits
In competitive karting, braking performance is rarely “about power” alone. It is about repeatability, thermal stability, correct geometry, and parts compatibility. The 8-inch (213mm) brake disc has become a widely adopted racing-oriented size because it balances heat capacity, packaging space, and predictable modulation. This guide breaks down how the 213mm disc aligns with common chassis setups—especially the popular 83mm rear tire width class—and why a single-side clamping axle design can simplify installation while improving serviceability during race weekends.
Why 8-Inch (213mm) Brake Discs Are Common in Kart Racing
The most practical reason is physics: braking converts speed into heat. A larger effective radius increases braking torque for the same caliper force, while a thicker and properly ventilated disc increases thermal mass and slows fade. In many sprint and endurance amateur-to-semi-pro environments, 213mm often lands in the “sweet spot”—large enough to resist overheating, yet compact enough to fit tight rear assemblies.
Thermal stability (fade resistance)
In typical club racing, rear brake disc surface temperatures can spike to 250–450°C after repeated heavy zones. A 213mm disc generally offers more margin than smaller diameters before the pedal feel softens or the bite becomes inconsistent.
Control (modulation) over “instant lock”
A well-matched 8-inch brake disc and pad compound helps drivers stay on the edge of grip without snatching the rear. That consistency matters more than peak torque when track grip evolves through the day.
Packaging with common rear assemblies
Many chassis layouts can accommodate 213mm without pushing caliper mounts into awkward angles. In practice, it can reduce “clearance compromises” that lead to rubbing, uneven pad wear, or slow service work.
213mm Disc + 83mm Tire Width: The Real Matching Logic
The phrase “matched to 83mm rear tire width” is not a marketing trick—it is a shorthand for how rear-end packaging and traction behavior interact. When the tire width class is around 83mm, teams often aim for a rear assembly that preserves:
Predictable caliper/disc clearance with common hubs and carriers
Consistent pad contact without caliper flex caused by cramped mounting
A practical way to think about “matching” is this: the disc diameter influences where the caliper sits, and where the caliper sits influences how easy it is to maintain correct alignment across heats. With 83mm tires, many setups already run tight tolerances inboard of the wheel and hub area. A 213mm disc typically keeps the caliper within a workable envelope—without forcing extreme bracket offsets.
Single-Side Clamping Axle Design: What It Changes in Real Service Work
In racing, “fast to service” is a performance feature. A single-side clamping axle (often paired with a compact short-shaft concept) can reduce the time and steps required to remove or reposition the disc and hub components. This matters when you are:
Changing pads between heats
Swapping disc types (solid vs. slotted) for temperature control
Correcting alignment after a curb strike or minor axle shift
Performance-wise, single-side clamping designs can also help maintain consistent positioning when properly torqued, because the clamping force is applied in a controlled way rather than relying on “tighten until it feels right.” The key is not the concept alone—but the execution: clean interfaces, correct torque, and no burrs on the axle or carrier.
Recommended torque & fastening practice (reference values)
Fastener / Interface
Typical Range
Trackside Notes
Disc-to-carrier bolts (M6)
8–12 N·m
Use medium threadlocker; tighten in a star pattern
Disc-to-carrier bolts (M8)
18–28 N·m
Re-check after first heat; avoid over-torque warping
Caliper mount bolts
25–40 N·m
Confirm bracket faces are flat; use lock washers if specified
Axle clamp interface
Per manufacturer spec
Clean + degrease contact surfaces; mark for movement detection
Values above are general references commonly used in kart hardware; always confirm with your specific axle, carrier, and bolt grade requirements.
A correct installation is less about “getting it on the axle” and more about keeping the disc square, centered, and free of binding under heat. The following workflow is designed for a typical kart rear brake system and fits most 8-inch brake disc installations.
Prep the interfaces: clean the axle, carrier face, and disc contact surfaces. Remove rust, pad dust buildup, and burrs. Degrease with brake-safe cleaner.
Mount disc to carrier: tighten bolts in a star pattern, gradually. This reduces the risk of introducing disc warp from uneven bolt seating.
Position carrier on axle: set the disc where the caliper will sit without forcing the caliper pistons to over-extend. Leave room for pad wear.
Center the caliper: loosen the caliper mount slightly, apply gentle brake pressure, then tighten the mount. This helps align both pads evenly to the disc.
Check free spin: spin the axle. Light pad kiss can be normal depending on caliper type, but there should be no heavy rub or cyclical drag.
Bed in the pads: do several moderate stops to transfer an even film. Avoid sitting stopped with the brake held while the disc is hot (this can imprint material and create judder).
Quick “no excuses” safety checks before the first session
Pedal feel: firm and repeatable, no sponginess
No fluid leaks at banjo bolts, fittings, or master cylinder
Disc bolts marked with paint pen for movement detection
Caliper bolts torqued and secured per spec
Balancing Heat Dissipation and Structural Strength
Buyers often compare solid vs. slotted or drilled discs without considering the practical trade-off: features that help gas and dust escape can also reduce mass. In karting, the goal is not maximum ventilation—it is stable friction and minimal distortion across a race distance.
8-Inch Brake Disc Feature Comparison (Practical Racing Use)
Disc Type
Best For
Watch Outs
Typical Use Case
Solid
Stable feel, good heat capacity
Can run hotter in long sessions
Sprint racing, mixed grip tracks
Slotted
Improved pad cleaning, consistent bite
May increase pad wear slightly
High dust environments, aggressive compounds
Drilled (lightweight)
Fast response, reduced rotating mass
Lower heat mass; potential cracking if abused
Short heats, careful temperature management
For most decision-stage buyers, the most reliable approach is to select an 8-inch disc that matches the caliper’s pad area and the intended race distance, then fine-tune with pad compound. If the kart starts strong but fades mid-run, the fix is often thermal management (disc mass + compound + bedding), not simply “more brake.”
Maintenance Interval & Wear Judgement: What Racers Should Actually Look For
Most brake issues blamed on “disc size” come from overlooked wear signals. A disciplined inspection routine keeps stopping performance predictable and reduces surprise failures during qualifying.
Suggested inspection timing (reference)
Every race day: bolt marks, rub check, pedal feel
Every 2–4 hours: pad thickness + disc surface check
Monthly / after hard impacts: runout check and caliper alignment
Common wear thresholds (reference)
Pad: replace when friction material is ~2–3 mm or if tapered badly
Disc thickness: replace near the manufacturer’s minimum; many kart discs start around 4–6 mm and should not be run thin
Heat checking: fine surface cracks can be normal; replace if cracks grow, link together, or reach edges/holes
The most telling visual cue is the pad contact pattern. If only part of the disc is polished, alignment is off. If the disc has blue/purple spots, it is seeing localized overheating—often from dragging brakes, poor bedding, or caliper piston imbalance.
Common Questions (FAQ) From Buyers and Mechanics
Why does the braking feel weak even after upgrading to an 8-inch brake disc?
Weak bite is often caused by pad compound mismatch, poor bedding, glazed pads, air in the system, or caliper misalignment—more than disc diameter. Confirm pedal firmness, bleed quality, and that the caliper is centered so both pads engage evenly. Also check that the disc surface is clean (no lubricant contamination).
How often should kart brake pads be replaced in racing?
For many club-level drivers, pads last roughly 3–10 hours depending on driving style, track layout, and compound. Replace earlier if the pad is tapered, contaminated, or if pedal feel changes suddenly. It is common to treat pads as a “setup item,” not just a wear item.
Is 213mm the same as “8 inch,” and does it matter if it’s slightly different?
8 inches is 203.2mm, but in karting “8-inch class” discs are often standardized around 210–215mm, with 213mm being common. What matters is compatibility with your caliper bracket position, pad swept area, and wheel/hub clearance. Always confirm actual diameter and offset, not label alone.
What causes brake judder after installation?
Judder is frequently caused by uneven pad material transfer (improper bedding), disc runout, or uneven bolt tightening that distorts the disc on the carrier. Re-check runout, retorque in a star pattern, and re-bed with controlled heat cycles.
If readers want to troubleshoot faster, they can share their chassis model, tire width, disc diameter/thickness, caliper type, and symptoms (fade, weak bite, squeal, judder). The most useful comments include track temperature and session length.
Choosing the Right Professional Spec: A Decision-Stage Checklist
Before ordering an “8-inch go-kart brake disc,” decision-stage buyers typically confirm these points to avoid expensive mismatch:
Exact disc diameter: confirm 213mm and the allowed tolerance for your class
Disc thickness: must match caliper/pad design (avoid piston over-travel)
Offset & carrier interface: ensures the disc is centered in the caliper without spacers
Axle compatibility: especially important for single-side clamping axle designs
Heat strategy: sprint vs. longer sessions determines mass vs. “bite” preference
For many setups running an 83mm rear tire width, the easiest “win” is choosing a disc that maintains clean caliper alignment and supports quick service. In practice, a compact short-shaft architecture paired with a single-side clamping approach can reduce downtime when the paddock is moving fast.
Need a Race-Ready Upgrade Path for a 213mm (8-Inch) Kart Brake Disc?
Get the spec sheet and compatibility guidance for a 213mm (8-inch) go-kart brake disc designed for quick installation with a compact short-shaft, single-side clamping axle setup. A clean fit and fast servicing can be the difference between “good parts” and a race-ready system.
Readers are welcome to leave a comment with their axle size, caliper model, and current tire width—fitment questions are easiest to solve with real measurements.
2026-02-07|416|Kart motor matching solutions High-torque motor braking effects Disc brake system optimization Kart modification techniques Track braking distance testing


.png?x-oss-process=image/resize,h_100,m_lfit/format,webp)
.png?x-oss-process=image/resize,h_100,m_lfit/format,webp)
.png?x-oss-process=image/resize,h_100,m_lfit/format,webp)